
A single weekend of prep work can be the difference between a comfortable winter and a mid-January disaster. Before the first freeze arrives, a handful of targeted checks around your home will protect your biggest investment and keep utility bills under control. Here are the five things that matter most.
Key Takeaways
- The most important thing you can do before the first freeze is protect your water supply. Disconnecting garden hoses, draining outdoor faucets, and insulating exposed pipes in crawl spaces and basements can prevent frozen pipes that lead to costly repairs.
- Servicing your heating system in early fall catches problems before you depend on it, reduces energy bills, and lowers the risk of carbon monoxide exposure during winter months.
- Sealing air leaks around windows, doors, and exterior walls is one of the cheapest ways to get your house ready for cold weather. Stopping drafts keeps warm air inside and cold air out.
- Inspecting your roof, cleaning gutters, and checking attic insulation prevents ice dams and water damage that worsen once melting snow refreezes at the roof edge.
- Small comfort adjustments like ceiling fan direction and thermostat setbacks can save up to 10% on heating costs without sacrificing warmth indoors.
These steps can usually be completed over a fall weekend. The article below walks through each one.
Get Your Water Supply Ready: Pipes and Outdoor Faucets
When water freezes inside a pipe, it expands by roughly 9% and can generate over 200 psi of pressure, enough to split copper, PVC, or PEX. A burst pipe can cost $500 or more to repair, and the resulting water damage to walls, floors, and ceilings can push bills into the tens of thousands. Roughly 37% of burst pipes occur in unheated basements, making those areas a top priority before winter weather arrives.
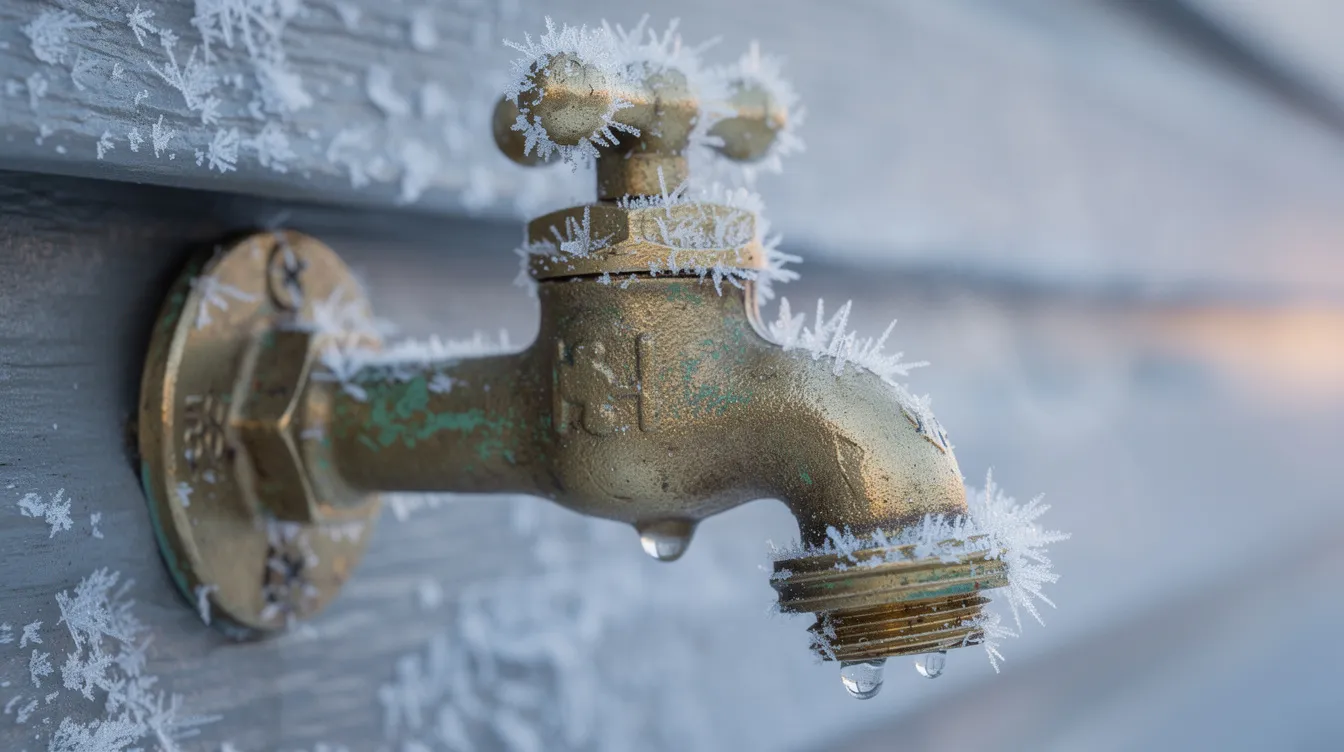
Outdoor faucets and hoses:
- Turn off the water supply to outdoor faucets using the interior shutoff valve, then open the outdoor spigot to drain remaining water.
- Disconnect and store every garden hose indoors. A hose left attached traps water that can backfill into the pipe and freeze.
- Cover outdoor faucets with insulated foam covers (about $5–$10 each) to prevent freezing.
- If you have an in-ground sprinkler system, have it professionally blown out to drain pipes and avoid burst lines before the first hard freeze.
Interior plumbing:
- Wrap exposed pipes with foam sleeves or insulation in unheated areas like crawl spaces, basements, garages, and along exterior walls. Pipe insulation costs as little as 50 cents per linear foot.
- Insulate exposed pipes in unheated areas thoroughly; insulating them is one of the most important steps to prevent freezing.
- Know the location of your main water shutoff and test it now. A valve that’s rusted or stuck is useless during an emergency.
Setting your thermostat to at least 60°F when you’re away protects pipes from freezing. Never let indoor temperatures fall below 55°F during freezing conditions.
Service Your Heating System Before You Need It
Scheduling a professional inspection in early fall is far cheaper than an emergency call when temperature drops hit single digits. Service your furnace annually for optimal efficiency; a basic tune-up typically runs $70–$200, while a comprehensive diagnostic may cost $150–$400. Regular maintenance of HVAC systems is necessary for safe heating and to extend the life of your equipment.
Have a technician inspect burners, heat exchangers, electrical connections, and safety controls. Cracked heat exchangers can leak combustion gases, including carbon monoxide. Winter months account for the highest share of CO-related emergency visits, making this inspection critical.
DIY tasks you can handle:
- Replace air filters every three months for better airflow; a clogged filter forces your furnace to work harder and waste energy.
- Clear at least three to five feet of space around the furnace and vacuum dust from registers and returns.
- Have your chimney inspected and cleaned annually to prevent fires. Creosote buildup is a leading cause of chimney fires in homes using fireplaces or wood stoves.
- Test carbon monoxide detectors and smoke alarms on every level of the home. Smoke alarms and carbon monoxide detectors should be tested regularly, with fresh batteries installed each fall.
Testing heating systems before winter ensures efficient operation. Turn the heat on for a brief run in October. Strange smells, unusual noises, or uneven heating are easier and cheaper to fix before peak demand.
Stop Drafts: Windows, Doors, and Insulation
Air leaks around windows and doors can account for 10–20% of your heating energy loss. Even when the thermostat is cranked up, cold air streaming through gaps makes rooms feel chilly and drives energy bills higher. Sealing drafts improves energy efficiency and reduces bills, making it one of the most cost-effective ways to prepare your home for winter.
Finding and fixing leaks:
- On a windy day, hold a lit stick of incense or a thin tissue near window frames, door edges, baseboards, and wall-ceiling joints. Movement means air is getting through.
- Caulking windows and doors prevents air leaks. Use silicone or polyurethane caulk around window frames, trim, and where siding meets masonry. Replace caulk every five to ten years, and if you spot gaps larger than a nickel, apply new exterior caulk immediately.
- Weather stripping can seal gaps around doors. Add adhesive strips or brush seals at door bottoms and around frames.
- For especially leaky windows, apply shrink-film insulation kits ($5–$15 per window) and use insulated curtains or cellular shades at night.
- Where you find larger penetrations around wiring or plumbing, spray foam works well to seal gaps that standard caulk can’t fill.
Quick attic check: Look for thin or missing insulation and visible joists. If you can see roof deck joists, insulation is insufficient. Dark streaks near penetrations signal warm air escaping into the attic, which contributes to heat loss and ice dams on the roof above.
Inspect Roof, Gutters, and Attic to Prevent Ice Dams
Ice dams form when heat escaping from the attic warms the roof deck, causing melting snow to run toward the colder eaves and refreeze. The resulting ridge of ice forces meltwater back under shingles and into the house, causing water damage to ceilings, walls, and insulation. Ice dams can cause meltwater to back up into homes, and professional removal costs $400–$1,400 depending on roof size. Prevention before the first snow and freeze cycle is far cheaper.
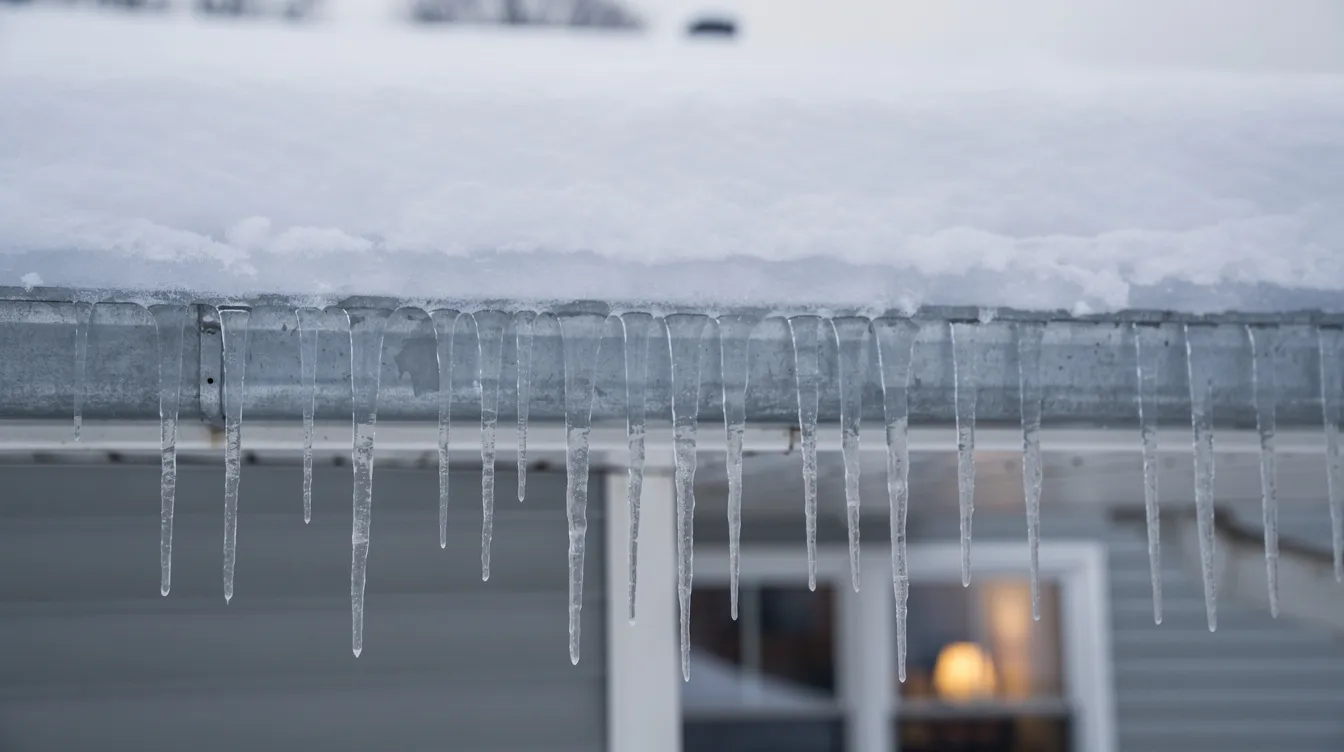
Roof inspection from the ground:
- Inspect roofs for damaged or missing shingles before winter. Look for curling, cracking, or lifting. A roof inspection can prevent leaks during winter storms.
- Check flashing around vents and chimneys during roof inspections, and look for moss or lichen, which indicate decay and trapped moisture.
Gutter and downspout prep:
- Clean gutters at least twice a year to prevent clogs. If your home is near pine trees, gutters should be cleaned every three months.
- Clogged gutters can cause leaks and ice dams by trapping meltwater at the roof edge.
- Verify gutters are securely attached to prevent damage from snow loads, and ensure correct slope toward downspouts.
- Extend downspouts four to six feet from the foundation to direct water away and avoid foundation issues.
Neglecting gutter maintenance can lead to costly repairs. Inspecting roofs and drainage systems helps prevent leaks and ice buildup.
Long-term solutions: Insulating your attic reduces ice dam formation, and sealing air leaks in the attic prevents ice dams from forming in the first place. Improving attic insulation can lower heating costs and save money on heating bills in the long run. Make sure soffit and ridge vents are open so cold exterior air can flow through the attic evenly.
If you notice recurring icicles or ceiling stains, have a professional inspect the roof and insulation system.
Optimize Indoor Comfort: Thermostat, Ceiling Fans, and Airflow
Once the structure is tightened and your heating equipment is serviced, small interior adjustments make a real difference in comfort and cost.
Thermostat settings:
- Keep the thermostat around 68°F when you’re home and awake. Drop it to around 62°F when sleeping. According to Department of Energy guidance, each 7–10°F setback during away or sleep periods can save up to 10% on annual heating costs.
- Set your thermostat to around 60°F when vacant to protect pipes without wasting energy. Using a minimum thermostat setting of 55°F is recommended during freezing conditions.
Ceiling fan direction:
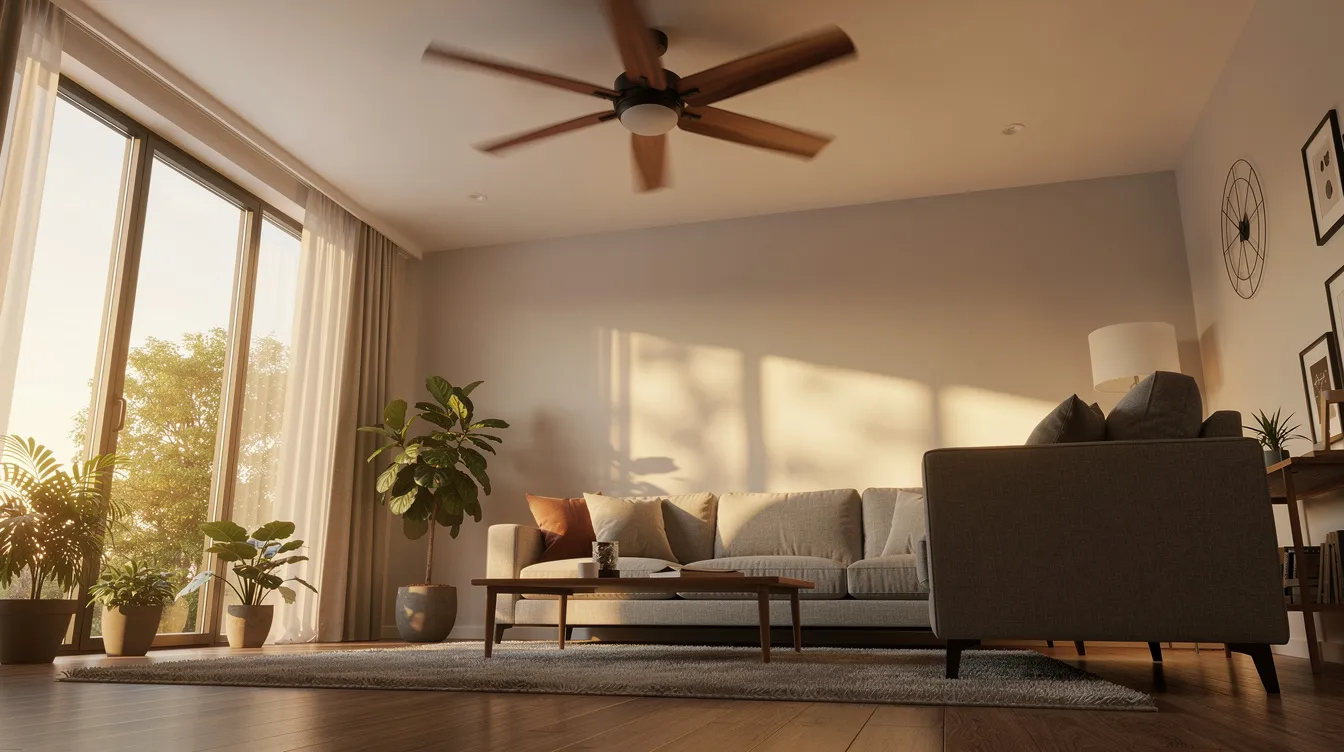
- Flip the reverse switch so your ceiling fan turns clockwise on a low speed. This gently pushes warm air trapped near the ceiling down along the walls without creating a noticeable draft.
- In rooms with high or vaulted ceilings, adjusting ceiling fan direction can be the most important thing you do to even out temperatures and reduce how often the furnace cycles.
Airflow checks:
- Make sure supply and return vents are not blocked by rugs, furniture, or curtains.
- Keep interior doors slightly open so warm air circulates throughout every room for more even heating.
Quick Exterior Walk-Through Before the First Freeze
A 15–30 minute walk around the exterior of your property in late fall can catch problems that become expensive repairs once winter weather sets in.
- Foundation and walkways: Look for cracks in the foundation or steps, loose railings, and uneven walkways that become hazardous once covered in snow or ice.
- Landscape hazards: When leaves fall and branches are bare, it’s easier to spot dead or weak limbs. Trim any that overhang the roof or power lines; heavy snow can snap them onto the house.
- Outdoor items: Move furniture, grills, and tools away from siding. Store anything that wind or snow could damage.
- Vents and exhaust covers: Confirm that dryer vent covers, furnace exhaust caps, and chimney terminal caps are clear and intact. Blocked vents can cause indoor pollution and fire hazards.
Pick a specific date, like the first weekend of November or whenever overnight lows are consistently in the mid-30s°F, to complete this walk-through each year.
Indoor Safety and Emergency Prep for Winter Weather
Winter storms can knock out power and block roads for hours or days, so being prepared indoors is part of getting your home ready for winter.
- Test and replace batteries in smoke alarms and carbon monoxide detectors. This is especially critical if you use a gas furnace, fireplace, or portable heaters.
- Assemble a cold-season emergency kit: flashlights with extra batteries, a battery-powered or crank radio, blankets, and a three-day supply of water and nonperishable food. Emergency supplies should include food, water, and warm clothing.
- Space heaters belong on hard, level surfaces at least three feet from anything flammable. Plug directly into a wall outlet, never an extension cord, and never leave them running unattended. Home fires linked to heating peak during winter months.
- Create a winter contact list: local plumber, HVAC technician, utility companies, and a neighbor who can check on the house if you travel.
Simple Timeline: When to Get Your House Ready
Timing matters. Completing tasks after the first freeze reduces their effectiveness and risks damage.
| When | What to Do |
|---|---|
| Late September – Early October | Schedule heating system service and chimney cleaning. Start checking windows and doors for drafts. Buy pipe insulation, weatherstripping, and faucet covers before stores run low. |
| October | Inspect roof and clean gutters. Check attic insulation and ventilation. Complete exterior walk-through. |
| Before first frost (nights near 32°F) | Drain and store garden hoses. Shut off and drain outdoor faucets. Winterize sprinklers. Set thermostat schedules and flip ceiling fans. Test smoke and CO detectors. |
Review this checklist each year as the first extended cold front appears in your area. When you make it an annual habit, preparing your home for winter takes a weekend instead of a scramble.
FAQ
These questions address common concerns about freezing temperatures and winter prep that go beyond the core checklist.
What is the most important thing to do before the first freeze?
Protecting your water supply is usually the single most important thing. Shut off and drain outdoor faucets, disconnect hoses, and insulate exposed pipes to prevent frozen pipes and costly water damage. A burst pipe can cost $500 just for the pipe repair, and water damage can multiply that figure dramatically.
How do I know if my home is insulated well enough for winter?
Uneven room temperatures, cold spots on walls or ceilings, and unusually high energy bills are common signs. Check your attic insulation depth against local climate recommendations (R-38 to R-60 in northern zones). If insulation is too thin to cover the joists, it needs topping up. A home energy audit with a blower-door test gives the most accurate diagnosis.
Can ceiling fans really make a difference in winter heating costs?
Yes. Running a ceiling fan clockwise on low recirculates warm air from the ceiling back down into the room. Many homeowners find they can lower their thermostat by a degree or two without feeling colder, saving on utility bills with almost no added electricity cost.
Do I still need to winterize if I live in a mild climate?
Even mild regions experience occasional cold snaps that reach freezing temperatures. Exposed plumbing, unsealed drafts, and unserviced heating equipment are still at risk. Heavy snow and ice dam prevention may be less critical, but basic pipe protection, draft sealing, and safety checks remain wise.
What should I do differently if my home will be vacant during the winter months?
Turn off the main water supply and drain interior pipes and the water heater where possible. Keep the thermostat set to at least the mid-50s°F to protect the structure and any remaining plumbing. Ask a trusted neighbor or property manager to check the home periodically for leaks, heating failures, or other issues that worsen when no one is around.