
Key Takeaways
- A focused fall home maintenance checklist tackles the 10 most critical tasks that prevent frozen pipes, ice dams, furnace breakdowns, and high heating bills before cold weather arrives.
- Safety checks on smoke alarms, carbon monoxide detectors, fire extinguishers, and your heating system should be prioritized first if time or budget is tight.
- Most fall maintenance tasks can be spread across two to four weekends in September through November, and many are realistic DIY projects that save money long-term.
- Sealing air leaks alone can cut heating bills by up to 20%, making it one of the highest-return investments on this list.
Introduction: Why a Fall Home Maintenance Checklist Matters
Shorter days, falling leaves, and temperatures that drop noticeably overnight all signal the same thing: winter is on its way. The window between late September and November is your best chance to prepare your home before freezing temperatures, snow, and ice settle in for months.
A well-organized fall home maintenance checklist helps you catch the problems that become expensive once winter weather hits. Frozen pipes, ice dams, furnace failures, and heat escaping through cracks all translate to higher heating bills and costly emergency repairs. Many homeowners discover these issues only after the damage is done.
This guide covers 10 practical fall maintenance tasks you should check before winter, organized step by step so you can work through them over a few weekends.

1. Seal Air Leaks Around Windows, Doors, and Attic Access
Unnoticed air leaks around window frames, door jambs, and attic hatches are one of the biggest sources of wasted heat. Cold air sneaks in while warm air escapes, making rooms feel drafty and forcing your heating system to work harder. Sealing air leaks can save up to 20% on heating bills, making this one of the highest-return items on your fall maintenance checklist.
To find leaks, try the back-of-the-hand test on a windy day. Move your hand slowly around the edges of windows, doors, outlet plates on exterior walls, and baseboards. If you feel cold air, you have a leak. A lit candle or incense stick also works-watch for the flame or smoke to flicker near trim and frames.
Here’s how to address what you find:
- Apply weatherstripping (felt, vinyl, rubber, or silicone) around exterior doors and windows. Weatherstripping is a cost-effective way to reduce drafts. Inspect weatherstripping periodically for deterioration, since it wears out over time.
- Install a door sweep on every exterior door to block the gap at the bottom.
- Use caulk to seal gaps around window and door casings, especially on the exterior side.
- Place foam gasket inserts behind outlet and switch plate covers on exterior walls.
- Check the attic hatch for gaps. If warm air is escaping into the attic, add rigid foam insulation and adhesive weatherstripping around the frame.
Multiple-pane windows improve energy efficiency significantly compared to single-pane, so if you notice heavy condensation or persistent drafts despite sealing, upgrading your windows may be worth evaluating.
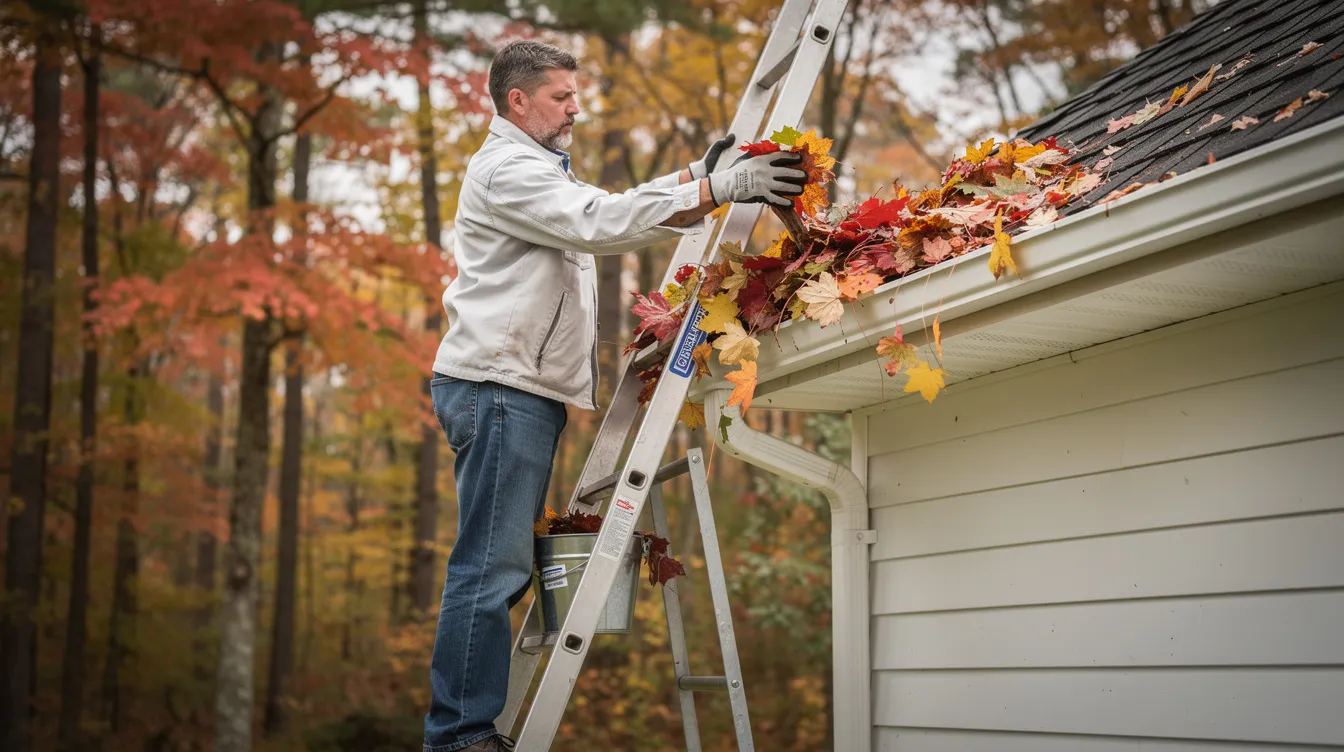
2. Inspect and Clean Gutters, Downspouts, and Roof Edges
Your gutters divert thousands of gallons of water away from your home annually. Once leaves, twigs, and other debris pack them tight, water backs up. Clogged gutters can lead to ice dams in winter, which force meltwater under shingles and into walls. Clogged gutters can also cause foundation damage and flooded basements. A case study of Milwaukee-area homes found that the average ice dam incident cost homeowners about $4,847 in damage.
Clean gutters at least twice a year-once in late spring and once in fall after most leaves have dropped. Here’s the process:
- Remove leaves and twigs by hand or with a gutter scoop.
- Flush gutters and downspouts with a garden hose to clear remaining sediment.
- Confirm that downspouts discharge water at least four to six feet away from your home’s foundation.
- Look for sagging gutters, rust holes, peeling paint on the fascia, or standing water, which all indicate damage. Cleaning gutters also prevents rust and corrosion from building up.
- Consider installing gutter guards to reduce future debris buildup.
From the ground, use binoculars to inspect roof edges. Look for missing shingles, loose flashing around chimneys and vents, or damaged shingles that are curling or cracked. Check for granules in gutters as a sign of roof wear. You should inspect your roof every three to four years, and 38% of homeowners faced unexpected roof damage in 2022-so don’t skip this step. Inspect flashing around chimneys and vents for damage that could let water in.
For steep or multi-story roofs, call a chimney professional or roofer rather than risking a fall.
3. Protect Exterior Faucets and Exposed Plumbing from Frozen Pipes
Water left in outdoor faucets, hose bibs, and uninsulated pipes will freeze and expand once temperatures drop below 32°F. Frozen outdoor pipes can burst and cause significant damage, often resulting in thousands of dollars in water damage to walls, ceilings, and floors. Winterizing outdoor faucets prevents frozen burst pipes and is one of the simplest fall home maintenance tasks you can do.
Follow these steps:
- Drain and disconnect garden hoses to prevent freezing. Coil them and store in a garage or shed.
- Turn off shut-off valves for outdoor faucets before winter if your home has interior shutoffs that feed the exterior lines.
- Open outdoor faucets to drain remaining water before winter so nothing is left to freeze.
- Use insulated covers on outdoor faucets to prevent freezing on every exterior hose bib.
- If you have a sprinkler system, drain it using the system’s drain valves or hire a professional to perform a compressed-air blowout before the first hard freeze.
For exposed pipes in garages, crawlspaces, and unfinished basements, wrap them in foam pipe sleeves. In extremely cold climates, UL-listed heat tape provides additional protection for the water supply lines most at risk.
4. Service Your Heating System and Replace Filters
A furnace or boiler that hasn’t been serviced is most likely to fail on the coldest night of the year-exactly when you need it most. Inspect your heating system annually for optimal performance, and schedule a professional HVAC inspection before winter, ideally in September or October before technicians’ schedules fill up.
A professional tune up typically includes:
- Inspecting the heat exchanger for cracks that could leak carbon monoxide
- Checking gas connections, cleaning burners, and testing ignition systems
- Lubricating blower motors and checking belts
- Verifying safe venting and measuring combustion efficiency
- Testing safety switches and controls
Annual HVAC maintenance typically costs $75 to $200, which is a fraction of what an emergency breakdown repair runs in January.
Between professional visits, change furnace filters monthly to maintain efficiency. A dirty furnace filter restricts airflow, strains the blower, reduces efficiency, and raises heating bills. While you’re at it, check your air filters for whole-house filtration, HRV/ERV units, and humidifier pads.
A few more things to address before the heating season begins:
- Walk through every room and confirm that vents and heating ducts are open, unobstructed by furniture or rugs, and firmly attached.
- Clean the dryer vent to prevent lint buildup, which is a fire hazard during heavy winter use.
- Check your water heater for sediment buildup or signs of corrosion.
- If you still use a manual thermostat, upgrading to a programmable or smart thermostat pays for itself quickly. Set it to about 68°F when home and awake, and drop it a few degrees while sleeping or away. Each degree lower can save roughly 1–3% on heating bills.
Before the heating season, also make sure your air conditioner or air conditioning unit is properly covered or its outdoor condenser is cleared of debris for the off-season.
5. Reverse Ceiling Fans and Optimize Airflow for Cold Weather
Hot air rises and pools near the ceiling, which means your living space can feel cooler at floor level even when the HVAC system is running. Set ceiling fans to spin clockwise at low speed during cold weather, and they’ll gently push that warm air back down along the walls where you actually feel it.
Here’s how to switch them:
- Turn the fan off and wait for blades to stop.
- Locate the small direction switch on the motor housing.
- Flip it so the blades rotate clockwise when viewed from below.
- Run the fan on the lowest speed setting.
Using ceiling fans this way can let you lower the thermostat by about 1–2°F while maintaining the same comfort level, helping you save money on heating costs over the season. While you’re up on the ladder, dust the blades and clean light fixtures. Once windows stay closed for winter, any accumulated dust will circulate through your living space with every rotation.
6. Test Smoke Alarms, Carbon Monoxide Detectors, and Fire Extinguishers
Once the heating season begins, your home faces elevated fire and carbon monoxide risks from heating equipment, fireplaces, and space heaters running in closed spaces. Three out of five home fire deaths occur in homes without working smoke alarms-a statistic that makes this check non-negotiable.
Here’s your fall safety checklist:
- Smoke detectors should be tested once a month using the test button. Replace smoke detector batteries at least once a year, and many families sync this with the fall time change. Smoke detectors older than 10 years should be replaced entirely, as sensors degrade.
- Carbon monoxide detectors should also be tested regularly. A study of in-use CO detectors found a 57% failure rate in units over 10 years old. Replace batteries annually and replace the entire unit every 5–7 years per manufacturer guidelines.
- Place carbon monoxide detectors near bedrooms, on every level of the home, and near attached garages. Don’t mount them directly next to fuel-burning appliances where normal exhaust could trigger nuisance alarms.
- Check that at least one multipurpose (ABC-rated) fire extinguisher is accessible on each floor. Verify the pressure gauge is in the green zone and the unit isn’t expired. Every household member old enough should know the PASS method: Pull, Aim, Squeeze, Sweep.
- Review your family’s home fire escape plan. Make sure windows open easily, exterior routes are clear, and everyone knows the outdoor meeting point.
The EPA notes that CO poisoning incidents peak during cold months when heating systems and backup generators are in heavy use, making detectors that are working properly essential.
7. Prepare Fireplaces, Wood Stoves, and Chimneys for Safe Use
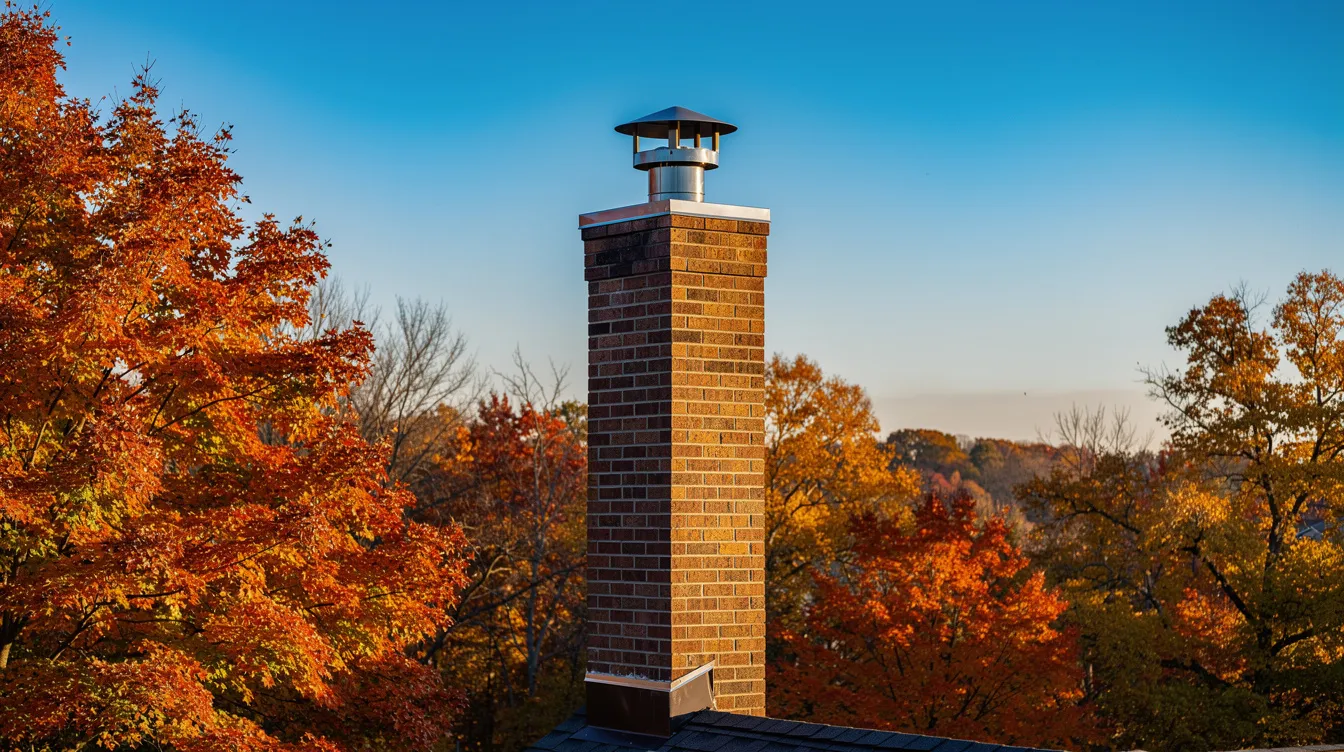
Chimneys with creosote buildup, bird nests, or cracked liners are a leading cause of house fires once you start burning. Before lighting the first fire of the season, the National Fire Protection Association recommends an annual chimney inspection and cleaning.
Key maintenance steps:
- Hire a certified chimney professional for inspection and sweeping. Average cleaning costs run $129 to $381 depending on chimney type and condition.
- Check that the damper opens and closes smoothly. A stuck or damaged damper wastes heat and can allow cold air or moisture into your home.
- Confirm the chimney cap is secure and intact. A good cap keeps rain, snow, animals, and other debris out of the flue.
- Inspect visible masonry for existing cracks, spalling, or deteriorating mortar joints.
- For gas fireplaces, verify that vents are clear and unblocked.
If you burn wood, use only seasoned firewood with moisture content below 20%, dried for at least a year. Store wood covered, off the ground, and 20–30 feet from the home to prevent pests and reduce moisture problems. Clean the firebox, replace worn gaskets on wood-burning stoves, and keep combustibles like rugs, decor, and kindling baskets at safe distances.
8. Protect Outdoor Surfaces, Walkways, and Yard Before Snow
Freeze-thaw cycles crack pavement, topple dead branches, and turn neglected walkways into slip hazards. Taking care of your yard and hardscape now prevents damage and costly spring repairs.
Lawn and landscaping:
- Rake leaves to prevent suffocation of grass, or mulch leaves to provide nutrients for your lawn using a mulching mower.
- Fertilize your lawn in autumn for spring growth-fall fertilizer strengthens roots before dormancy.
- Aerate your lawn to improve root growth before winter, especially in compacted or high-traffic areas.
- Water trees thoroughly before winter to protect them from dry winter winds and frozen soil.
- Trimming hazardous trees reduces the risk of branches falling during snow and ice storms onto your roof or power lines.
Hardscape and equipment:
- Inspect driveways, steps, and walkways for existing cracks wider than about 1/8 inch. Patch them before winter weather forces water in and freeze-thaw expansion makes them worse. This helps ensure proper drainage and prevents water from pooling near your home’s foundation.
- Store outdoor furniture indoors or under weatherproof covers. Proper outdoor equipment storage protects it from winter damage. Clean your grill and either cover it or drain and stabilize fuel.
- Drain fuel from your lawn mower and other yard equipment, or add fuel stabilizer before storage.
- Remove screens from storm doors and replace with glass inserts for better insulation if applicable.
- Check exterior lighting around entries, paths, and driveways. Replace burned-out bulbs and confirm that motion sensors and timers are working for dark winter evenings. This routine maintenance takes minutes but prevents pests from gathering near neglected entry points and improves safety.
9. Improve Attic and Basement Defenses Against Moisture and Heat Loss
Your attic and basement are early warning zones for moisture, mold, pests, and insulation failures that become far more noticeable-and damaging-once winter settles in.
For a quick attic inspection:
- Look for wet or compressed insulation, which signals leaks or condensation issues.
- Check for dark stains on roof sheathing (moisture), visible daylight through the roof deck (holes), or pest droppings indicating gaps where animals enter.
- Measure insulation depth. The Department of Energy recommends attic insulation between R-30 and R-60 depending on your climate zone. If yours is thin or uneven, adding blown-in or batt insulation is a worthwhile investment. Always seal air leaks before adding insulation so the new material performs properly.
For basements and foundations:
- Check window wells, foundation walls, and sump pump areas for dampness or white powdery efflorescence, which indicates water infiltration.
- Clear debris from window well drains and confirm that downspout extensions carry water well away from the foundation to prevent water intrusion and foundation damage.
- Seal small gaps around the sill plate and foundation with appropriate sealant or expanding foam.
- If your basement stays damp heading into winter, a dehumidifier helps prevent mold growth and protects stored belongings.
10. Get Ready for Winter Storms and Power Outages
Even a well-maintained home can face power outages, heavy snowfall, and ice events. The final step in your fall home maintenance checklist is making sure your household is ready for winter storms that knock out power or make roads impassable.
Build a basic cold-weather emergency kit:
- Flashlights, extra batteries, and a battery or crank-powered radio
- Bottled water and non-perishable food for at least 72 hours
- Warm blankets, extra layers, and needed medications
- A basic first-aid kit
Additional preparations:
- If you own a generator, test-run it outdoors and far from windows and doors. Never use generators or fuel-burning heaters indoors due to carbon monoxide risks.
- Stock up on ice melt, sand for traction, snow shovels, and fuel for snow blowers before the first major storm. Keep them where they’re easy to reach.
- Regularly check that you know how to safely shut off water, gas, and electricity in an emergency.
- Keep key phone numbers accessible: utility companies, your plumber, your HVAC tech.
A basic emergency kit costs under $100 and takes minutes to assemble, but it makes a significant difference during a multi-day outage.
Putting It All Together: Building Your Fall Home Maintenance Routine
These 10 checks form a complete home maintenance checklist you can spread across a few weekends between September and November. You don’t need to tackle everything in a single day. If time or budget is tight, prioritize safety-critical tasks first: test smoke detectors and carbon monoxide detectors, service your heating system, and protect exterior faucets from freezing temperatures.
Schedule professional services-HVAC tune-ups, chimney sweeps, roof inspections-early in the season before demand peaks. Create a simple written or digital fall checklist you repeat each year, noting dates completed, contractors used, and issues to watch next time around.
Grab a hot apple cider, pick a weekend, and start checking off the list. A few hours of routine maintenance now keeps your home warm, your family safe, and your wallet intact when the cold weather arrives. For more home maintenance tips, revisit this checklist each September and adjust it as your home ages.
Frequently Asked Questions About Fall Home Maintenance
When should I start my fall home maintenance checklist each year?
Most homeowners should begin fall home maintenance in late September or early October, finishing outdoor tasks like cleaning gutters and protecting exterior faucets before the first hard freeze. Check local historical weather data or ask contractors about typical first-freeze dates in your area to set a realistic deadline.
Which fall maintenance tasks should I always hire a professional for?
Roof repairs, full chimney inspections, gas furnace or boiler servicing, and complex electrical work are best left to licensed professionals for safety and warranty reasons. Tasks like testing smoke alarms, reversing ceiling fans, sealing small air leaks, and basic gutter cleaning on a single-story home are realistic DIY projects for most homeowners.
How much should I budget annually for fall home maintenance?
A common rule of thumb is to set aside about 1% of your home’s value per year for maintenance across all seasons, with a portion going to fall tasks like HVAC service and chimney cleaning. Homeowners with older homes, complex roofs, or multiple fireplaces should expect to spend a bit more on professional inspections and expensive repairs prevention.
Do I really need carbon monoxide detectors if I already have smoke alarms?
Yes. Smoke alarms and carbon monoxide detectors sense entirely different hazards, and both are essential. Carbon monoxide is odorless and invisible, making dedicated detectors critical in any home with a furnace, gas stove, water heater, or attached garage-especially once the heating season begins.
What should I do if I find a minor issue during my fall inspection?
Document what you find with photos and notes. Address easy fixes immediately-adding weatherstripping, sealing a small crack, or replacing a filter. For anything involving gas lines, structural integrity, or electrical systems, schedule professional help before temperatures drop further. Small issues left unaddressed in fall almost always become bigger and more costly by spring.